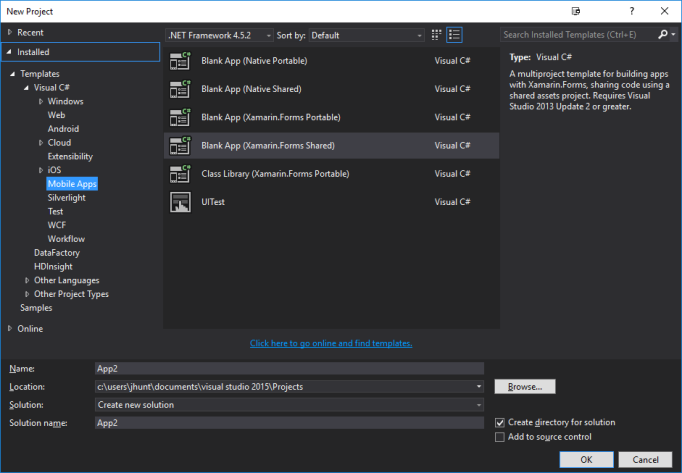
In Part 2, I created a pattern where I could use the MVVM pattern to manage the navigation on a TabbedPage. Though there are 5 patterns of navigation outlined in Xamarin.Forms, really only the TabbedPage, MasterDetailPage, and Carousel seem to fit the bill for how to handle the main form of navigation. The others are more concerned with navigation from summary to detail and can be used in conjunction with the previously mentioned three.
In essence, the TabbedPage, MasterDetailPage, and Carousel are all representations of the same root data (a collection of pages, and a selected page) much like a ListView or Picker control. That being said, I knew that once I settled on the TabbedPage as the main UI navigation mechanic, that I’d have some users (one in particular) suggesting that they’d prefer something more akin to the MasterDetailPage (which I had started with in Part 1). This led me to work on MVVM-ing the MasterDetailPage for use with the same ViewModel I used for the TabbedPage in Part 2.
This isn’t the complete story for making this fully MVVM Style (the headers aren’t working and I haven’t added icons or fancy formatting), but it gives things a good start. And, the same as in Part 2, I can now set which tab is currently selected by setting
CurrentTab = Tabs[1];
in the ViewModel’s constructor if I like… and write the appropriate tests to ensure that whatever tab I want selected has been selected.
View
<?xml version="1.0" encoding="utf-8" ?>
<MasterDetailPage xmlns="http://xamarin.com/schemas/2014/forms"
 xmlns:x="http://schemas.microsoft.com/winfx/2009/xaml"
 x:Class="MyProject.MasterDetailRootPage"
 Title="Master Page!!"
 CurrentPage="{Binding CurrentTab}">
 <MasterDetailPage.Master Title="Master Page">
    <ContentPage Title="Not Displayed">
        <ListView ItemsSource="{Binding Tabs}" SelectedItem="{Binding CurrentTab}">
            <ListView.ItemTemplate>
                <DataTemplate>
                    <ViewCell>
                        <ViewCell.View>
                            <StackLayout Orientation="Horizontal">
                                <Label Text="{Binding Title}" />
                            </StackLayout>
                        </ViewCell.View>
                    </ViewCell>
                </DataTemplate>
            </ListView.ItemTemplate>
        </ListView>
    </ContentPage>
</MasterDetailPage.Master>
</MasterDetailPage>
CodeBehind
public partial class MasterDetailRootPage : MasterDetailPage {
public static readonly BindableProperty CurrentPageProperty = BindableProperty.Create<MasterDetailRootPage, Page>(x => x.CurrentPage, null, BindingMode.TwoWay, propertyChanged: OnItemsSourcePropertyChanged);
public MasterDetailRootPage() {
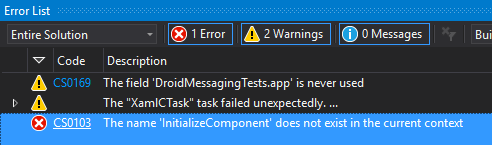
InitializeComponent();
}
Page CurrentPage { get; set; }
static void OnItemsSourcePropertyChanged(BindableObject bindable, Page value, Page newValue) {
var masterDetailPage = (MasterDetailRootPage)bindable;
masterDetailPage.Detail = newValue;
}
}
ViewModel (same as was used in Part 2)
public class RootPageViewController : ViewModelBase {
    INavigableTabBuilder tabBuilder;
    Page currentTab;
    ObservableCollection<Page> tabs;

    public RootPageViewController(INavigableTabBuilder tabBuilder) {
        this.tabBuilder = tabBuilder;
    }

    public ObservableCollection<Page> Tabs {
        get { return tabs ?? (tabs = new ObservableCollection<Page> {
            tabBuilder.CreateFirstTab(), tabBuilder.CreateSecondTab(), });
        }
        private set { SetProperty(ref tabs, value); } }

    public Page CurrentTab {
        get { return currentTab ?? (currentTab = Tabs[0]); }
        set { SetProperty(ref currentTab, value); }
    }
}